Adaptive Images for Optimizely
Web editor guide
Introduction
This add-on adds powerful and intuitive features for working with images in Optimizely. You can select different images for different screen sizes, and optionally adjust image croppings to perfectly fit your website design.
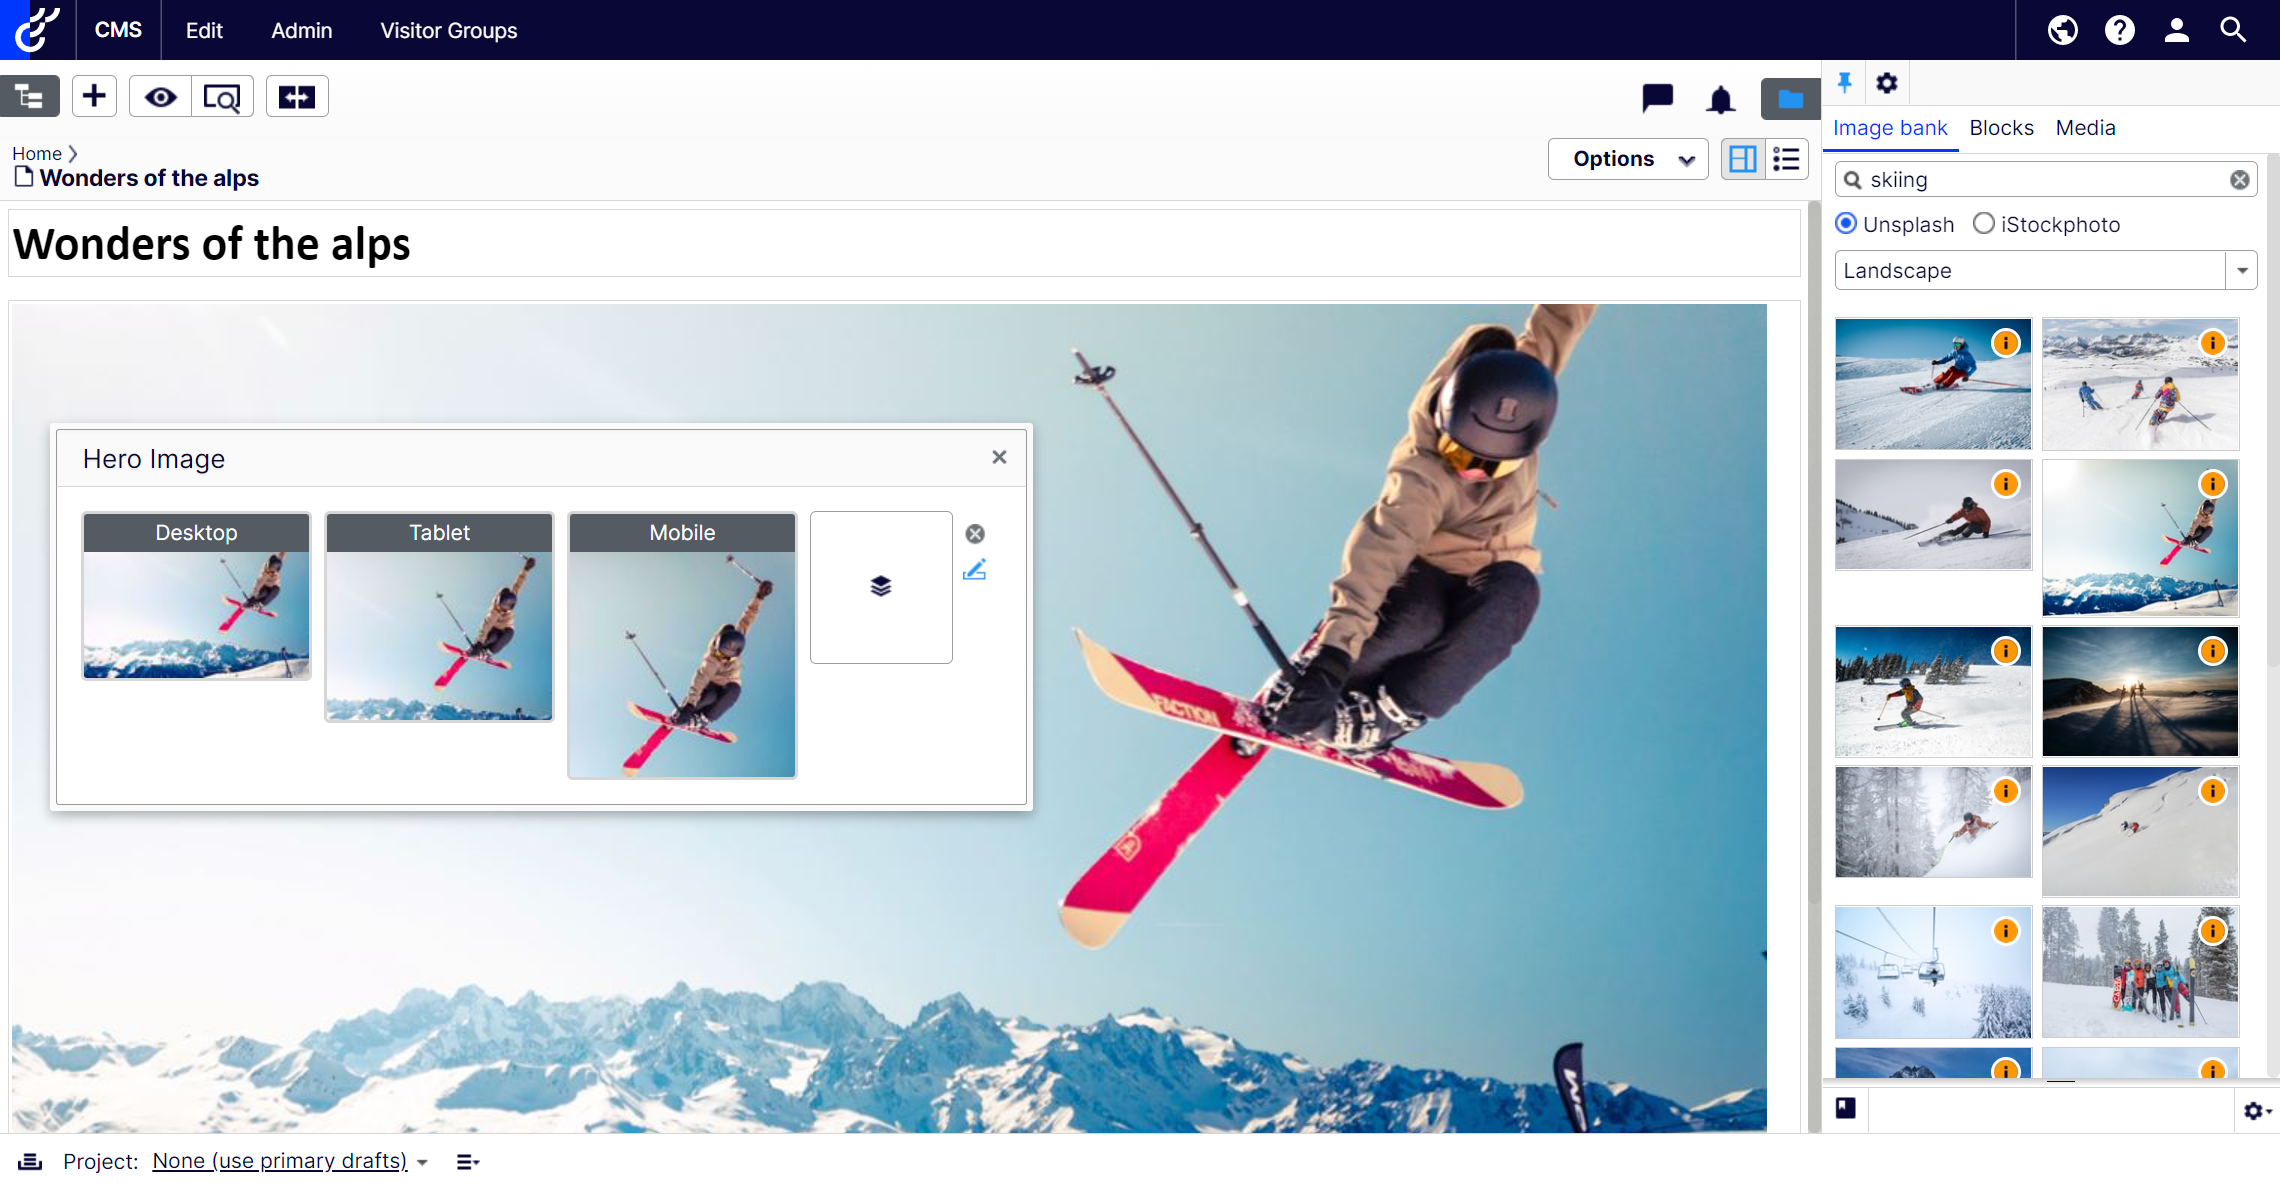
Search for images
Note: The Image bank tab is visible if your website has an integration for at least one external image source, such as a DAM. If not, you may use images uploaded in the CMS under Media.
Select image source (if more than one is integrated with your website) and options as preferred. Note that options may vary between different image sources. For example, the proportions options below are specific to Unsplash.
Some image sources support listing images without searching. Others require at least one keyword for a search result to appear.
An orange icon indicates there is copyright information available, otherwise a blue icon is displayed if there is other metadata available. Click the icon to view it.
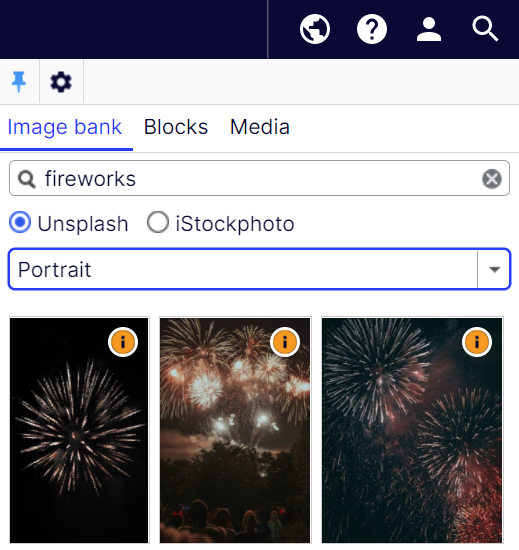
Preview an image
Click a thumbnail to see a preview. Close the preview by clicking the top-right x.

For tall (portrait) images, you may need to scroll inside the preview, using the mouse scroll wheel, to see the entire image.
You may also double-click the preview to open the original image in a new tab.
Set a single image
A single image is by default displayed with the same proportions/cropping regardless of screen size.
Drag-and-drop an image from the Image bank or Media:
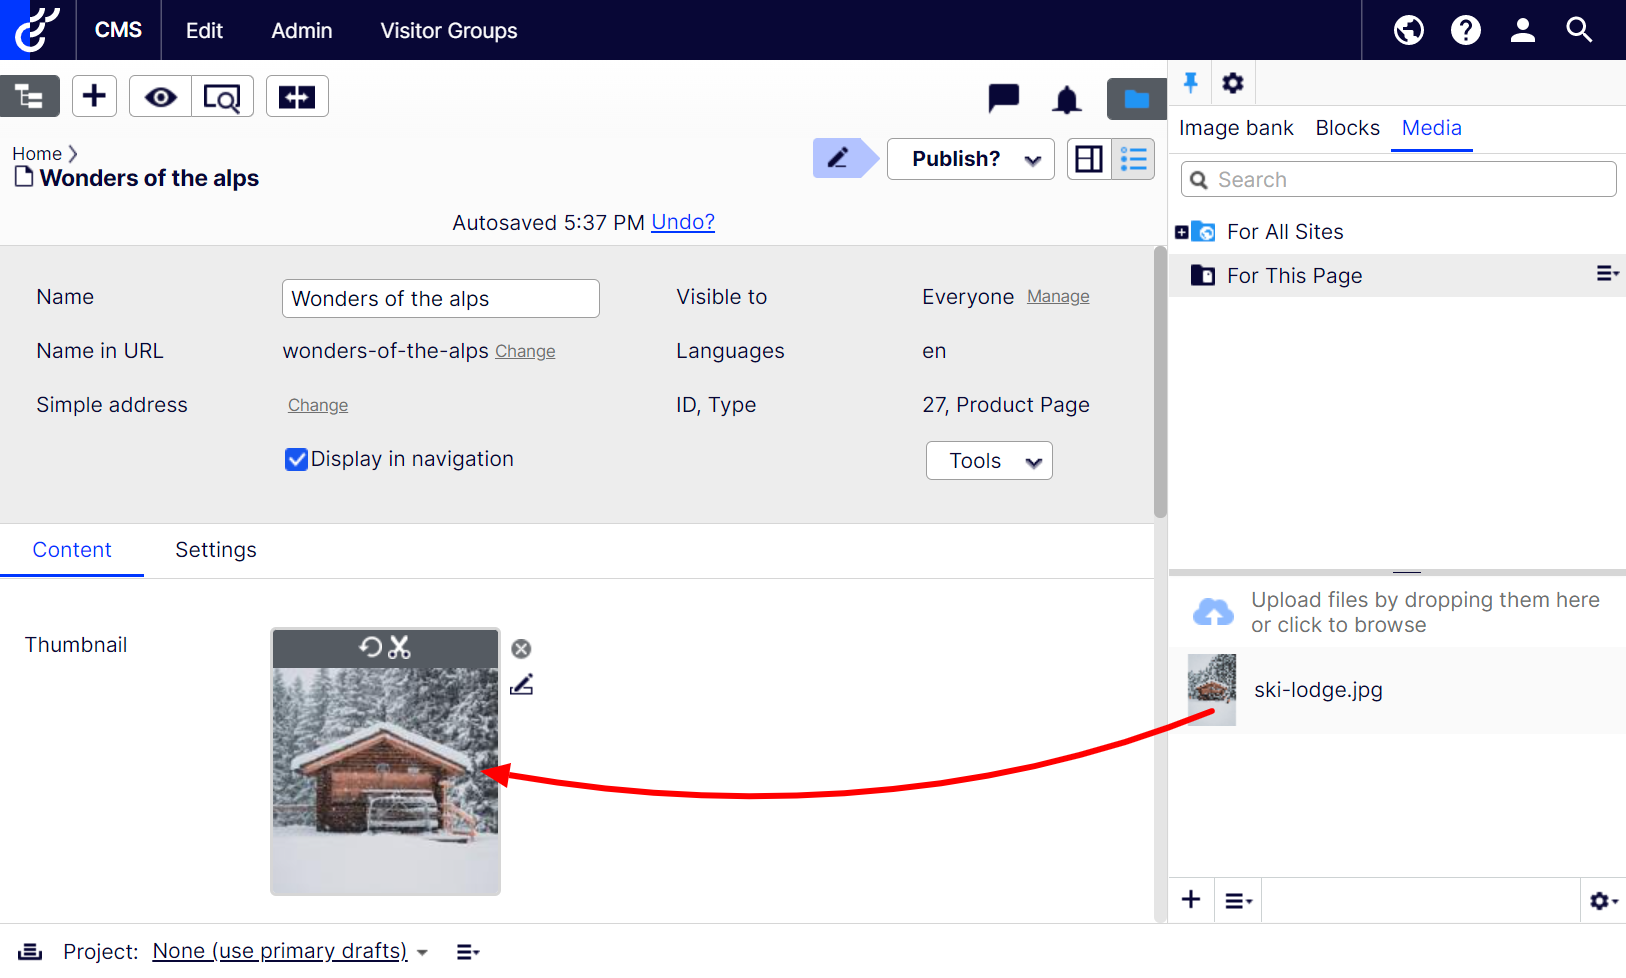
Depending on website settings, the image may automatically be cropped to the correct proportions. You may also crop the image manually.
Set an adaptive image
You can use the same image for all screen sizes, or select different images for each.
Same image for all screen sizes
Drag an image from the Image bank or Media tab and drop it on the empty square to use the same image for all screen sizes:
Depending on your website settings, the image is automatically cropped to the correct proportions for each screen size.
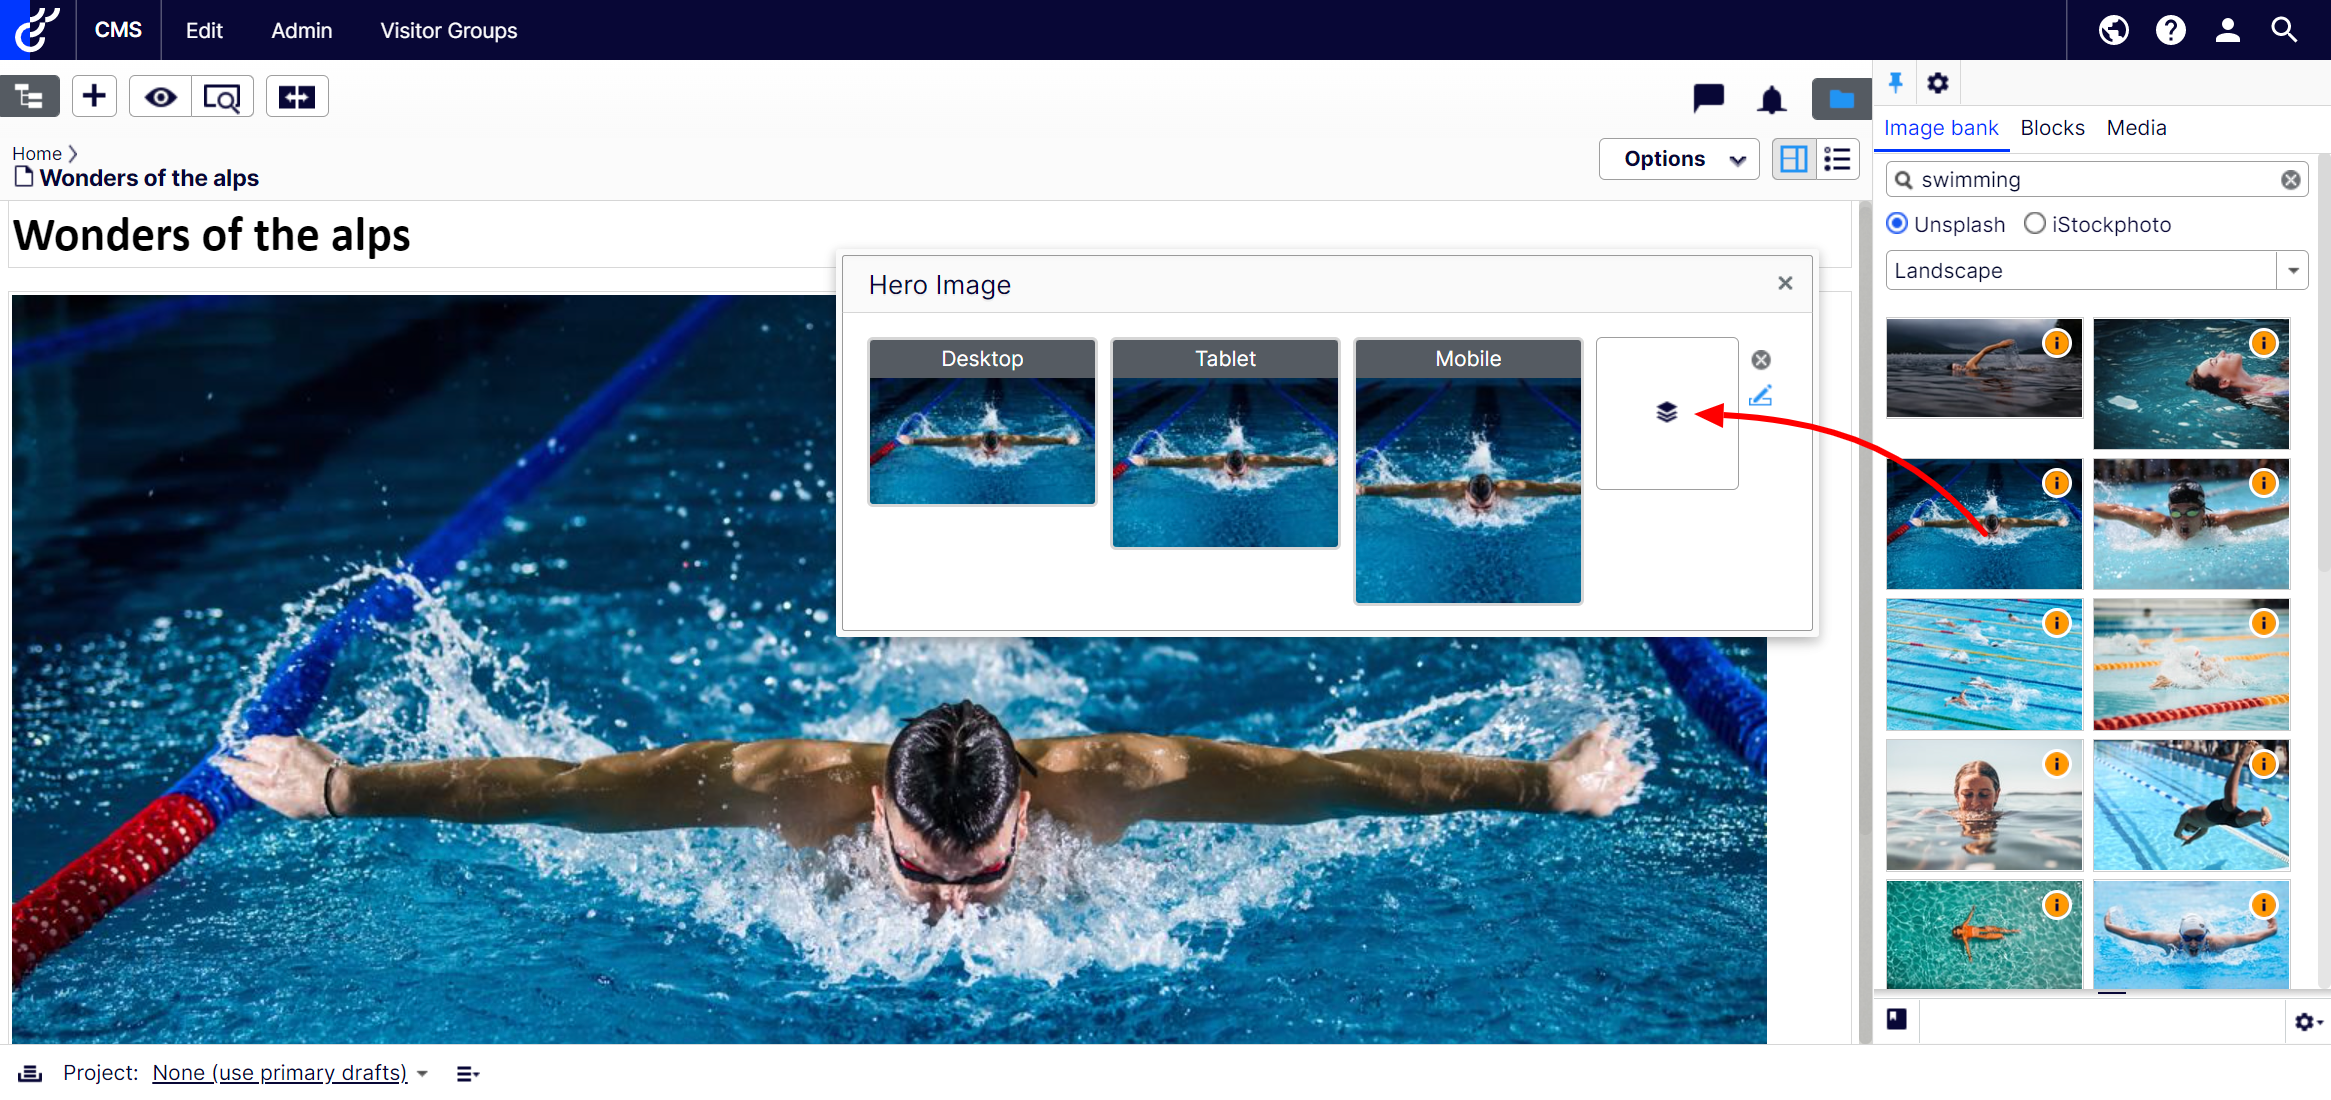
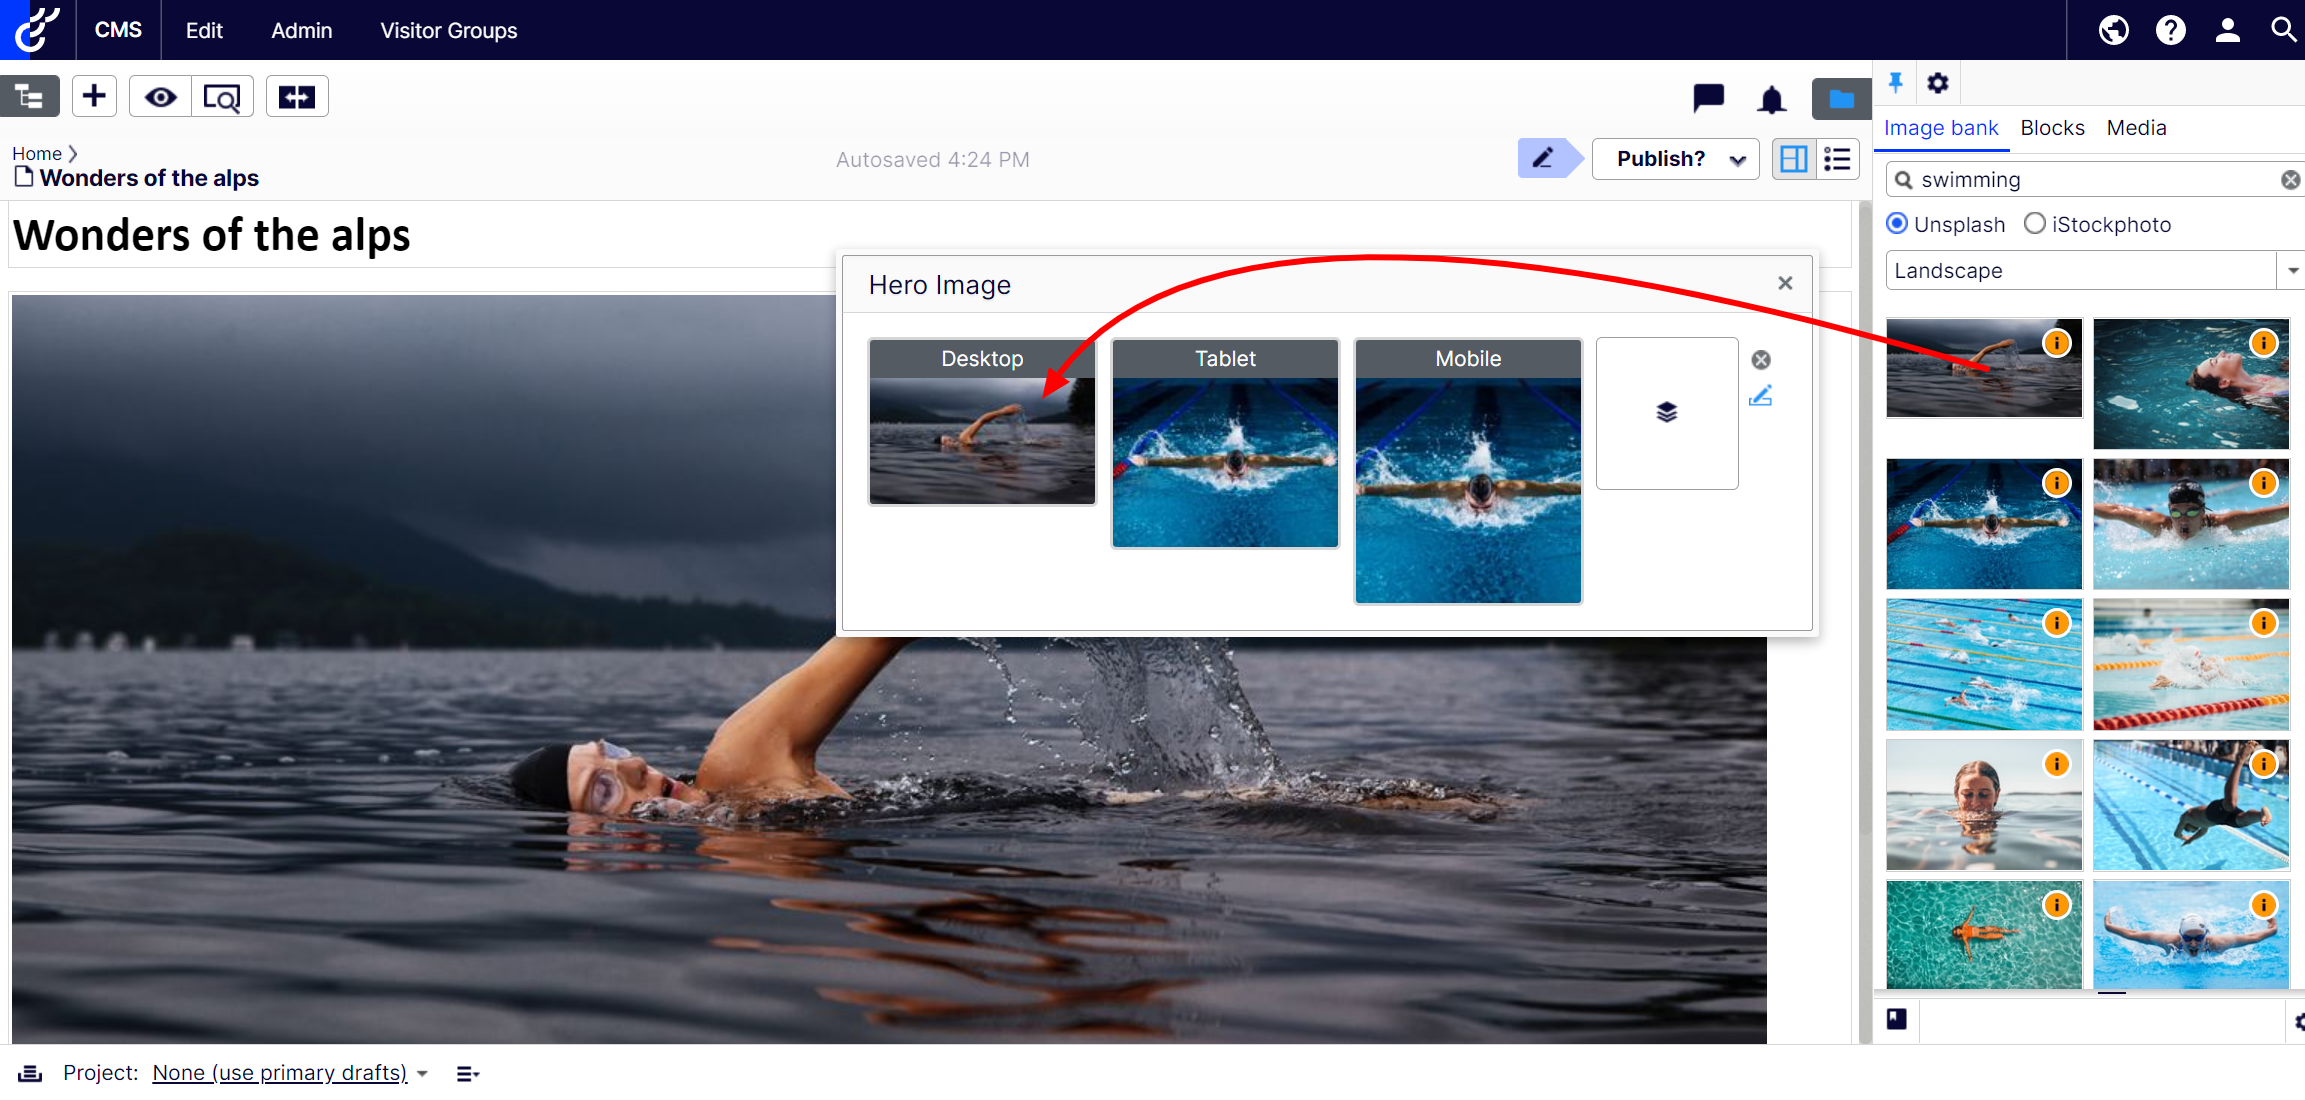
Screen size-specific images
To use an image for a specific screen size, drag it from the search result to the desired form factor:
Note: In on-page edit mode, you'll see the image as it appears for the current screen size. For example, to see how the image appears on a mobile device, you may need to resize the browser window or switch to a different preview mode in Optimizely.
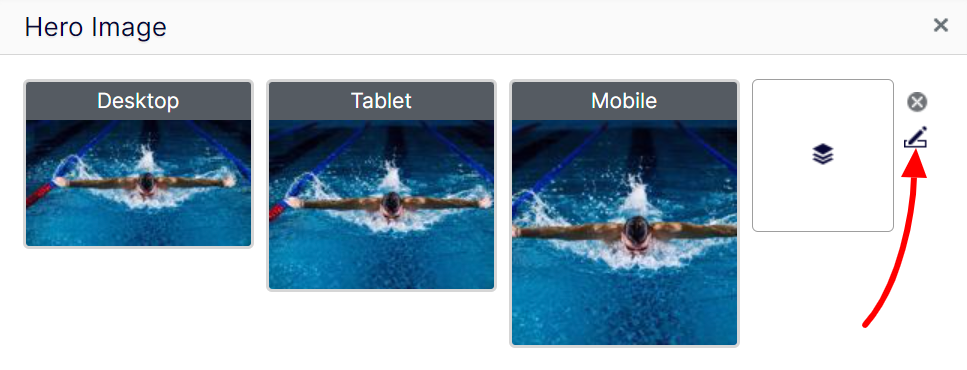
Set image description
To add or edit the image description, click the little pen icon. If the image already has a description, the pen icon is blue.
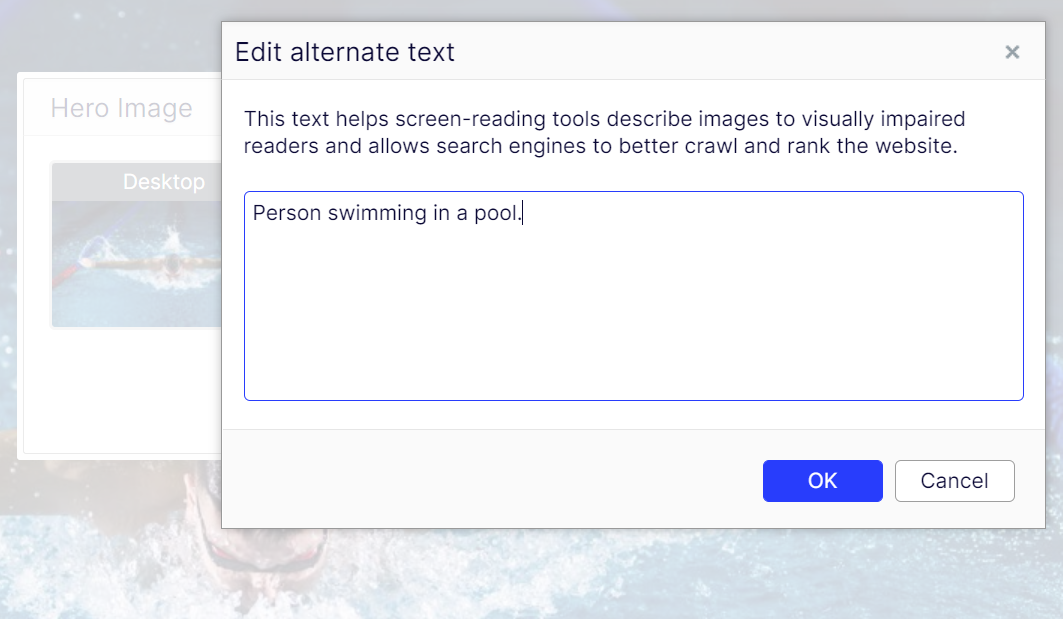
Note that the same image description is used for all screen sizes for adaptive images.
Clear images
To clear a property and any image description, click the top-right icon:
![]()
Crop images
Single images use the same cropping for all screen sizes, while adaptive images may be cropped differently for each screen size.
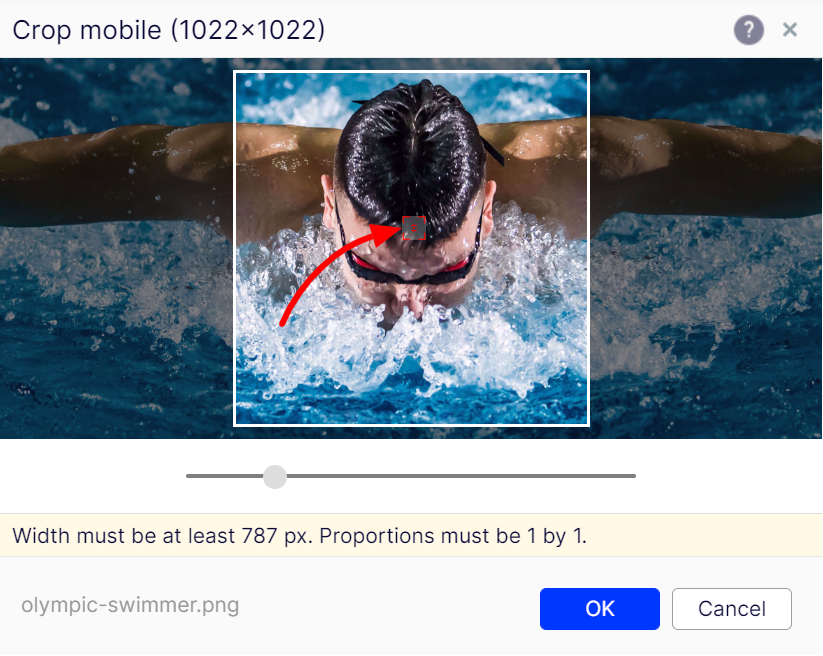
Click a thumbnail to open the crop dialog, which also informs of any size and/or proportions constraints.
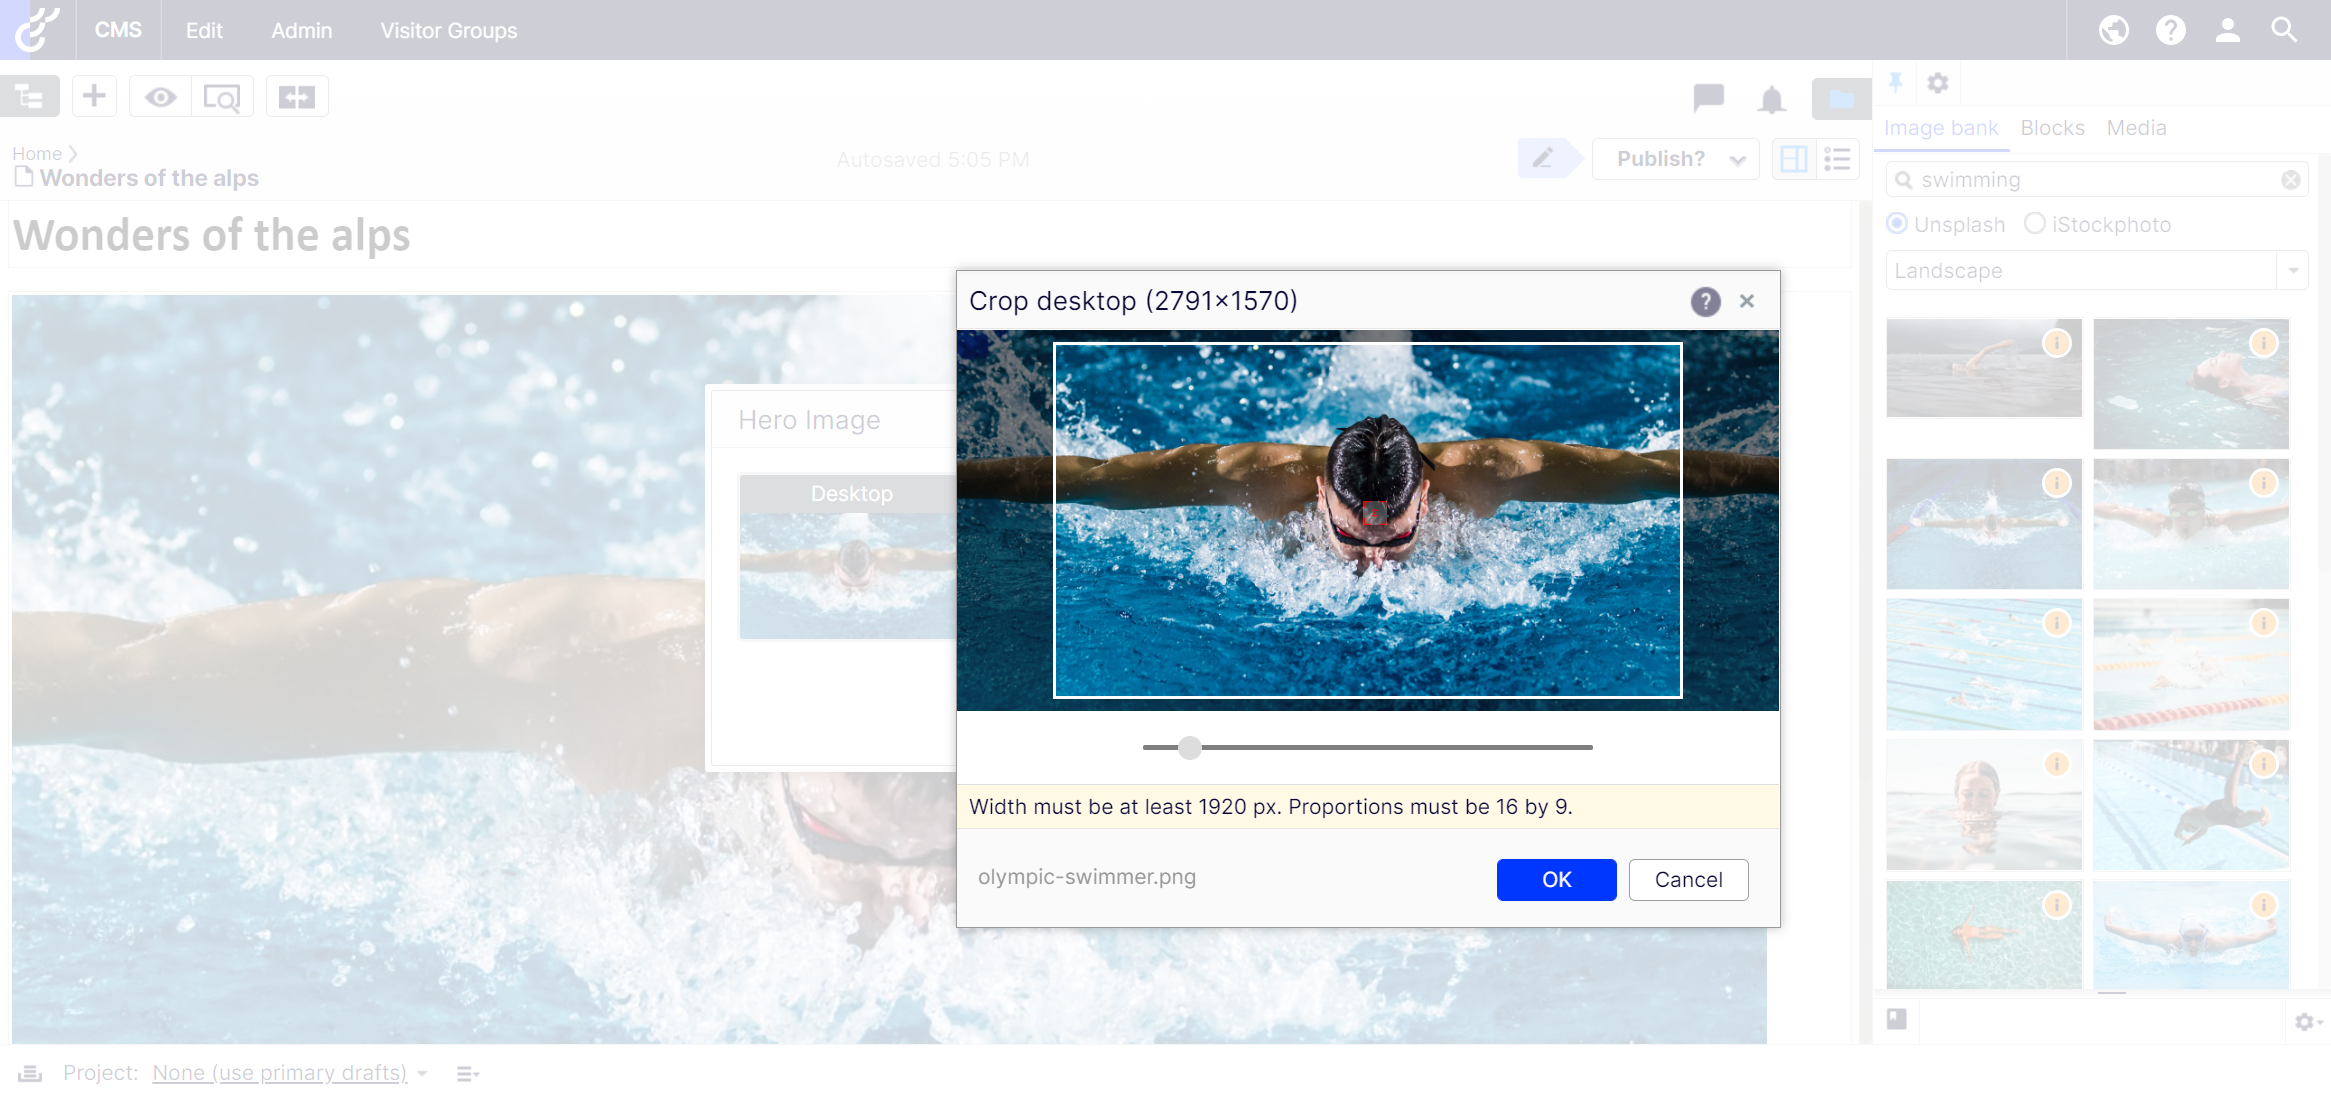
How to crop
Set the visible part of the image by zooming in/out and dragging the image. Zoom in and out using either the:
- mouse scroll wheel (recommended)
- slider
- plus and minus keys (for fine-tuning)
Setting a focal point
To explicitly set a focal point to use when rendering the image with other proportions than the default ones, double click anywhere within the crop area. The focal point icon turns red when explicitly set.
Reset cropping
To return an image to its default crop settings, click the undo icon that appears when hovering the thumbnail.
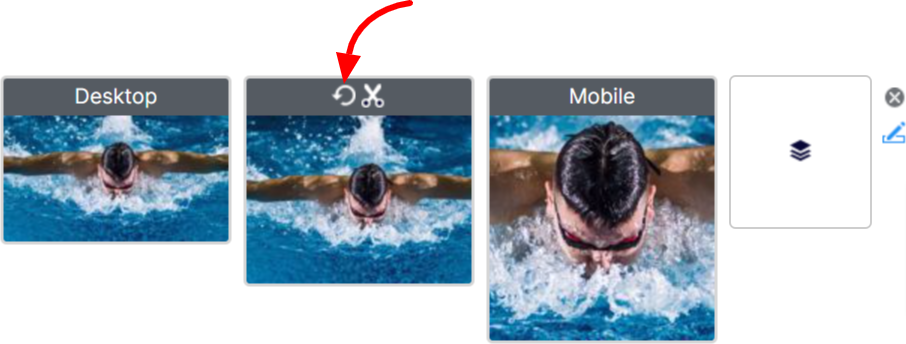
Resetting the cropping also resets any explicit focal point.
Upload images
Select an applicable image source on the Image bank tab and then click the upload area, or drag and drop an image from your computer, to upload:
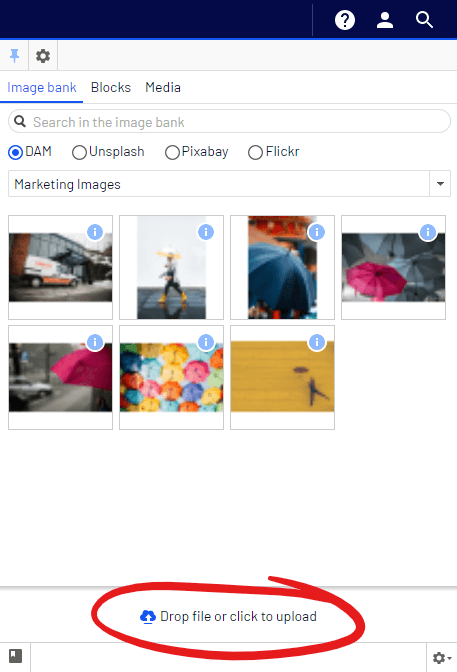
Note: The upload area is only displayed for image sources that support it.
After upload you're able to specify metadata for it:
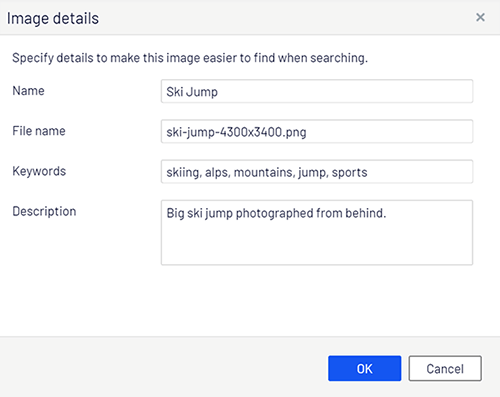
Note: Actual metadata properties depend on the selected image source.